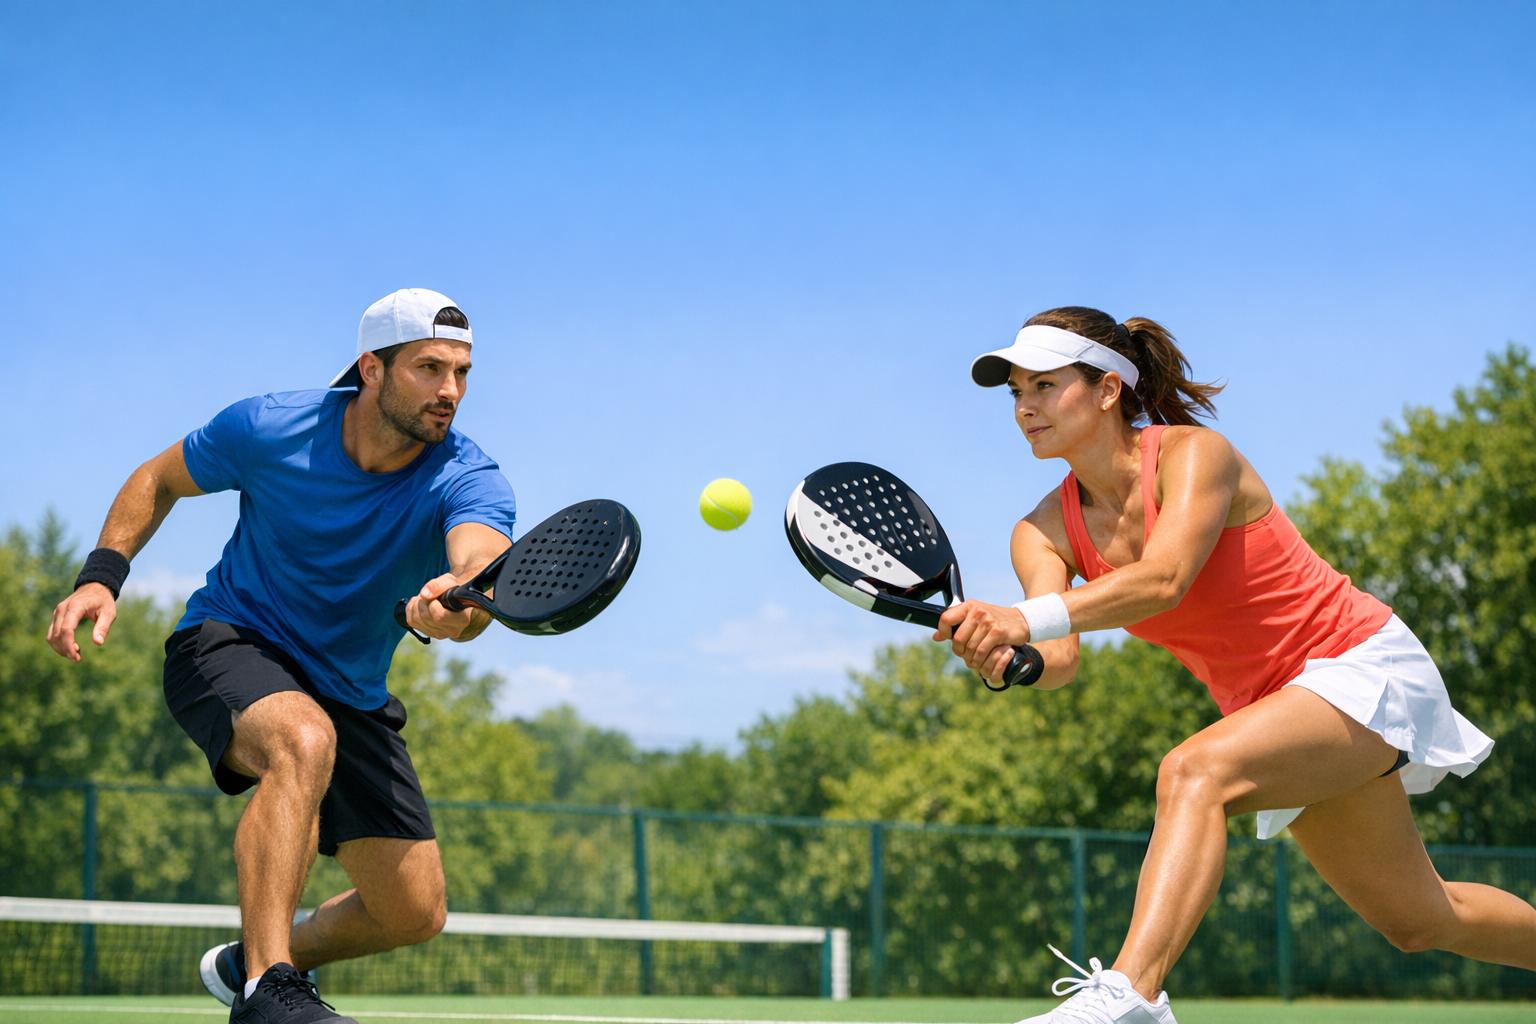
Building a padel court requires detailed planning and execution. Here's a quick guide to get you started:
- Location and Legalities: Choose a suitable location, considering dimensions and sunlight direction. Obtain necessary permits and adhere to local zoning laws.
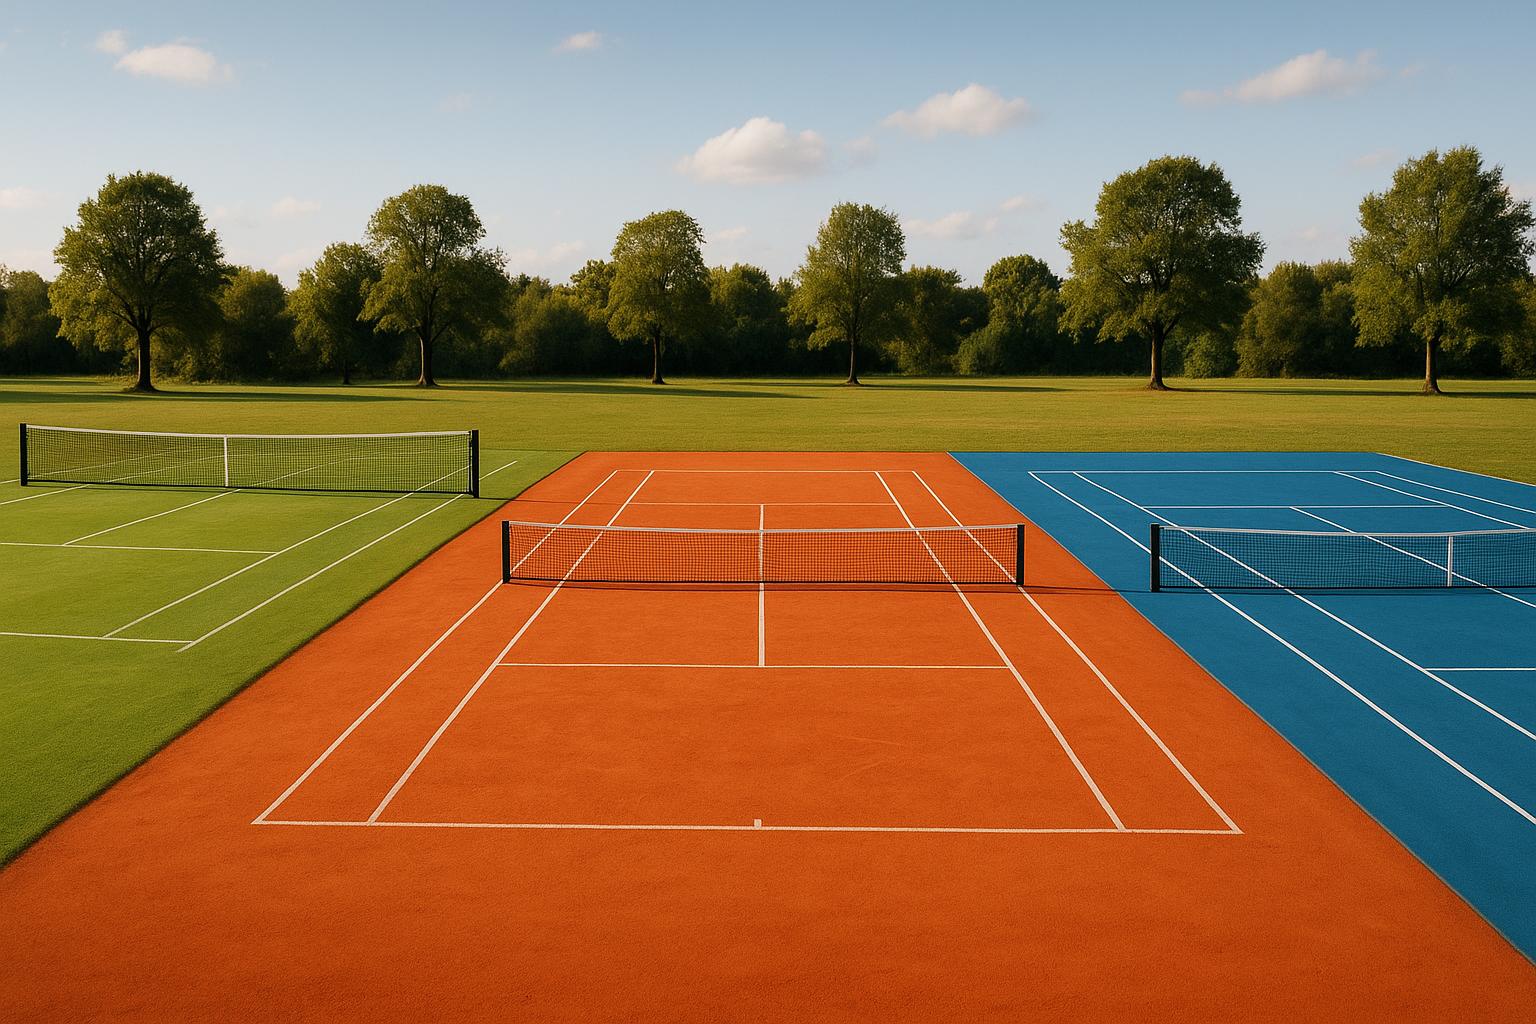
- Design and Surface Material: Stick to standard dimensions and select the right surface material—synthetic grass, clay, or concrete.
- Site Preparation: Clear and grade the area, install drainage, and consider an irrigation system if necessary.
- Foundation Construction: Lay a thick concrete slab with reinforcement and allow for expansion joints.
- Walls and Fences: Install durable walls and fences at the correct height, ensuring they're weather-resistant.
- Surface Installation: Prepare the base layer and lay the chosen surface material, securing it properly.
- Accessories: Add lighting, a net, and posts, ensuring they meet standard requirements.
- Final Touches and Maintenance: Paint court lines and establish a maintenance routine for longevity.
This guide covers everything from the initial planning stages to the final touches, ensuring you build a padel court that's both enjoyable and durable.
Choosing the Right Location
When you're picking a spot for your padel court, think about a few important things:
- Dimensions - A standard padel court is 20 meters long and 10 meters wide. You'll also need extra space around it, so make sure there's enough room.
- Sunlight - Try to place the court so the sun isn't in players' eyes. A north-south direction usually works best.
- Proximity - It's nice to have things like bathrooms and changing areas close by. It makes playing more enjoyable.
- Zoning Laws - Check with your local government to see if there are rules about building sports courts in your area. Sometimes there are specific requirements.
- Surface Angle - The ground should slope a little (but not too much) so water can drain away. This helps avoid puddles.
Obtaining Necessary Permits
Before you start building, you'll need to get the right permissions:
- Building Permits - For a permanent structure like a padel court, you usually need permission from the government. This can vary depending on where you live.
- Site Plans - You'll need detailed plans of where the court will go, how big it will be, and what materials you'll use. It's best to hire a professional for this.
- Inspections - Your local government will want to check the court at different stages to make sure it meets all the rules.
- Safety Codes - Be aware of any rules about electricity, plumbing, or other safety issues.
Getting all the paperwork sorted out before you start can save you a lot of trouble later. If you don't follow the local rules, you might have to change or even remove your padel court.
Step 2: Designing Your Padel Court
Designing your padel court right is super important before you start building. This means knowing exactly how big it should be and what kind of floor is best.
Understanding Standard Dimensions
A normal padel court is 20m long and 10m wide, with walls around it that are 3m high. Here are some other sizes you need to know:
- Service boxes - 6.95m long x 8.23m wide
- Net height - 0.88m in the middle, 0.92m at the ends
- Space around the court - At least 2m at the back and 3m at the sides
It's really important to stick to these sizes if you want your court to be right for official games. Even a little change can make the ball bounce weirdly.
If you're just playing for fun, you can be a bit flexible with the size if you have to, but try to keep it as close to the standard as you can.
Choosing the Surface Material
You can pick from synthetic grass, clay, or concrete for the floor of your padel court. Each one has its own good and bad points, depending on what you need and how much you want to spend.
| Material | Durability | Cost | Maintenance | Play Style |
|---|---|---|---|---|
| Synthetic Grass | Lasts a long time, 5-8 years | Not too expensive | Easy to look after | Ball bounces in a regular way |
| Clay | Needs careful looking after | Cheapest | Needs a lot of care | Feels natural and lets you slide |
| Concrete | Really tough | Most expensive | Needs some care | Makes the game fast |
Synthetic Grass
- Lasts well and is good for a long time
- The ball bounces in a predictable way
- Not too hard to put in or keep up
- Might need extra stuff like sand or rubber
Clay
- The most traditional and liked by many
- Feels natural and lets you slide around
- Can get damaged if not looked after
- Might get cracks or lumps over time
Concrete
- Very tough and good for places with lots of use
- You can paint lines on it
- Makes the game go fast
- Might want to add something soft underneath to prevent injuries
Think about what you care about most, like how much money you want to spend, how much work you want to put into keeping it nice, how fast you want the game to go, and how much you'll use the court, when picking the best floor. Talking to a pro can help you make the best choice.
Step 3: Preparing the Site
Before you start building your padel court, you need to get the ground ready. This step is all about making sure your court has a solid foundation and won't have any water problems later on. Here's what you need to do:
Clearing and Grading the Area
- First, you need to clean up the area. Get rid of any plants, rocks, or junk.
- Make the ground level. You want a slight slope (about 2% from back to front) to help rainwater run off. But, make sure the ground is flat from side to side so the ball bounces evenly.
- Press down the soil really well before you lay down any concrete. This helps avoid any sinking or uneven spots later.
Installing Drainage
- Good drainage is super important to keep puddles away.
- Put in some pipes around the edges to catch rainwater and lead it away.
- These pipes should go to a storm drain or a similar place where water can safely flow away.
- If your area often gets waterlogged, think about using a sump pump to help keep things dry.
Irrigation System
- If you're using a surface that needs water, like clay, you might want an irrigation system to keep it moist evenly.
- Put pipes and special sprinklers under the ground to water the court evenly.
- You can set a timer to water the court automatically at the best times.
- Pick water-saving options to help keep your water bill down.
Getting the site ready properly is really important. It makes sure your padel court stays in good shape for a long time and helps avoid problems with water or uneven playing surfaces.
Step 4: Constructing the Foundation
Building a strong foundation is key for a padel court that lasts. Here's how to do it right:
Specifications for the Concrete Slab
- The bottom layer, or concrete slab, should be thick, about 15-20cm, to hold up the court and its walls well.
- Use strong concrete, at least 25 MPa, so it can carry all the weight without problems.
- Put steel mesh or bars in the concrete to stop it from cracking or moving. These should be near the bottom.
Allowing for Expansion Joints
- Expansion joints are little gaps in the concrete that let it expand or shrink with the weather without cracking.
- They're important to keep cracks away. Put them around every 5 meters.
- Fill these gaps with a soft material to keep dirt out.
Correctly Curing the Concrete
- Let the new concrete set for about a week, 5-7 days, so it gets really hard.
- Keep it wet by spraying water on it or covering it with wet cloth or plastic. This stops it from cracking.
- Don't put anything heavy on it while it's setting.
Using Specialised Equipment
- Use a laser level to make sure the bottom is totally flat. This helps with draining water and making sure the ball bounces right.
- Smooth out the concrete with power trowels.
- Use a concrete saw for cutting clean joints instead of doing it by hand.
Taking the time to build a good foundation makes everything else easier and helps avoid problems later. If you're not sure how to work with concrete, it might be a good idea to talk to someone who does.
Step 5: Installing Walls and Fences
Putting up strong walls and fences around your padel court is important to keep the game going and make sure balls don't fly off. Here's what you need to know:
Height and Durability Standards
- Walls should be 3 meters high to stop most balls.
- Add fencing on top to reach a total of 4 meters high, helping keep even more balls in.
- Use tough materials like tempered glass or steel mesh for the walls so they can take a lot of hits.
- Pick materials that can handle the weather to avoid wear and tear.
Mounting Considerations
- Make sure to fix fencing posts strongly in the ground or court base with concrete so they won't come loose.
- Set up the fence in a way that catches balls well, based on how they usually fly.
- Have a little space under the fence for water to drain.
- Double-check that all parts of the fence are tightly connected and strong.
Access Points
- Put in a gate for people and gear to move in and out easily.
- The gate should be as tall and tough as the rest of the fencing.
- Use a gate that closes by itself so it won't stay open by mistake.
- A double gate might be good for getting equipment in without messing with the play area.
Setting up solid, well-fixed walls and fences is key for a good game of padel. Using the right materials, making sure everything is firmly in place, and thinking about how to get in and out will give you walls and fences that last a long time.
Step 6: Laying the Surface
Putting down the right surface is key to making your padel court feel real and ensuring the ball bounces correctly. Here's what you need to know about setting up your court surface:
Preparing the Base Layer
- Once the concrete base is ready, add a layer that can absorb shock, like rubber, foam, or sand. This helps keep players safe if they fall.
- Make sure this layer is even and flat across the whole court. You can use guides to help.
- Press down and smooth out this base layer well before adding anything else on top.
Artificial Turf Options
- A lot of padel courts use fake grass because it lasts a long time and keeps the ball bounce consistent.
- Look for turf that's thick and feels firm to play on.
- The bottom of the turf should let water through so you don't get puddles.
- Filling the turf with sand or tiny rubber bits helps control how the ball moves and feels underfoot.
Laying and Securing the Turf
- Roll out the turf and cut it to exactly fit your court, without any overlaps.
- Glue the turf down everywhere to make sure it doesn't move.
- Make sure the edges are stuck down well or use a special border to keep it from lifting.
- If there are seams where different pieces meet, line up the grass direction so it looks seamless.
Adding Line Markings
- Paint the lines for the court and service boxes following the official sizes.
- Use paint that works well on your surface type so it sticks and lasts.
- Tape off areas before painting to get sharp, clean lines.
- You could also choose turf that already has lines on it to make things easier.
Taking your time with the surface setup makes your padel court safe, fun to play on, and durable. It's important to be precise and not rush through this part.
sbb-itb-5591e69
Step 7: Adding Accessories
Lighting
Good lights are a must if you want to play padel after dark or when it's a bit gloomy. Here's what you need to know:
- Go for LED lights because they're bright and don't blind players. Pick ones made for sports areas that light up the court well, around 500 lux.
- Hang lights at least 6 meters high around the edges of the court. This keeps them out of the way and makes sure the light is even.
- Use timers or sensors to automatically turn the lights on when it gets dark and off again in the morning. This helps save energy.
- It's handy to control the court lights separately from other lights around it.
- Always have a professional electrician do the wiring to avoid any safety risks. Make sure any outdoor wires are waterproof.
Net and Posts
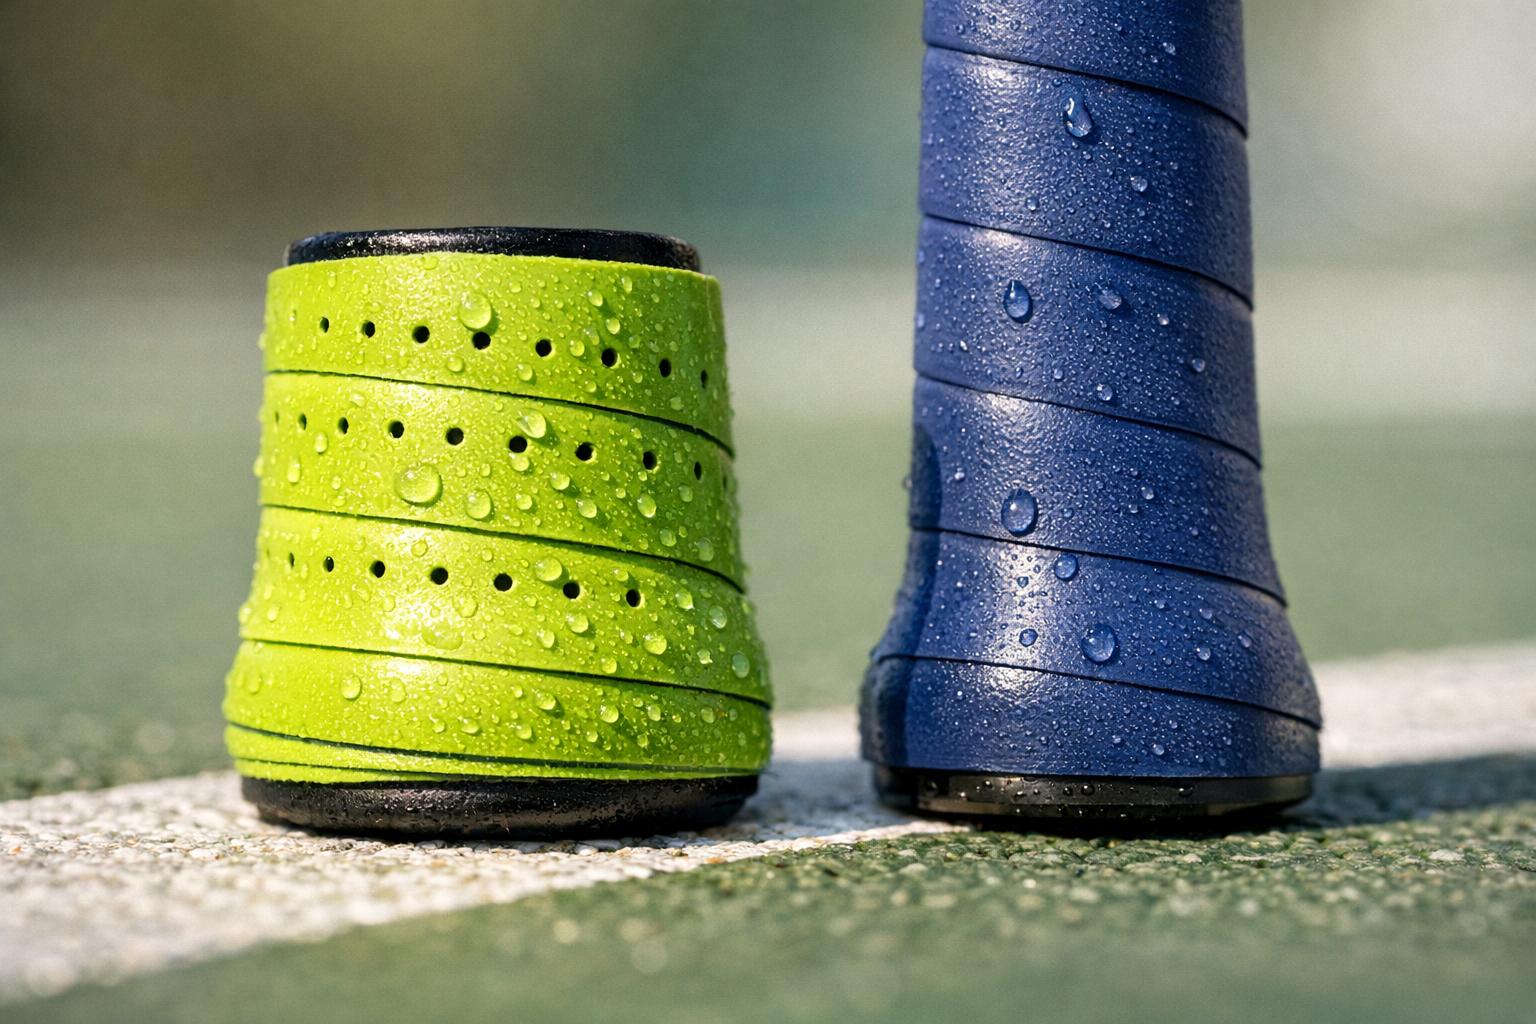
The net and the posts holding it up are important and need to follow the rules:
- The net should be tough and handle all weather. It shouldn't be thicker than 1.3 cm and the holes shouldn't be bigger than 4.5 cm.
- The net hangs between two posts that should be placed 0.92 m outside the lines of the court. The net should be 0.88 m high in the middle and 0.92 m at the ends.
- Make sure the posts are stuck deep into the ground, about 0.5 m, with concrete. They need to stay straight and not move during games.
- The net needs to be tight, with a way to adjust how tight it is.
- It's a good idea to make the posts and net easy to see by using bright colors. Check the net often and replace it if it gets worn out.
Following these simple steps for the net and posts makes sure your padel games are fun and fair.
Step 8: Final Touches and Maintenance
Court Lines
- Make sure to use the official sizes for painting lines, just like the rulebook says.
- Put tape down to get straight lines before you start painting.
- Pick a paint that can handle the weather and sticks well to your court.
- Paint the lines again when they start to fade or peel so it's always clear where the boundaries are.
- Use small cones or markers to show where the service boxes are for practice.
Maintenance Tips
- Daily: Clean off any leaves or dirt from the court, and check if the net is tight enough.
- Weekly: Clean the glass walls and the net, and take care of any spots.
- Monthly: Look over the surface carefully and fix any small rips right away.
- Yearly: Give the whole court a good clean, put in a new net if the old one is ripped, and think about redoing the surface if it's worn out.
Surface
- Sweep it every day to keep it clean.
- Get rid of stains fast before they stick.
- Fix any rips as soon as you see them to keep the court in good shape.
- You might need to replace the surface every 5-10 years, depending on how much it's used.
Walls
- Clean the glass every week so it stays clear.
- Check the metal mesh every day for anything sticking out.
- Look for any damage after big storms.
Lighting
- Change any lights that stop working right away.
- Check the timers and switches every six months to make sure they're working.
- Clean the light fixtures once a year to keep the light bright.
Net
- Make sure the net is tight and at the right height every week.
- Take it down if there's going to be really bad weather.
- You should get a new net every year or when the old one looks worn out.
Keeping up with regular care makes your court last longer, look better, and keeps it safe to play on. Spending a bit of time on it now can save you money later on.
Conclusion
Building a padel court that matches official size and material rules needs good planning and hard work. Here's a quick guide to help you make a top-notch court for great games.
Planning and Permits
- Pick a spot with enough room and good sunlight
- Get the right permits and make detailed plans
- Follow all local building and safety rules
Design and Layout
- Stick to the official court size of 20m x 10m
- Choose the best surface, like synthetic grass or clay
- Make sure water can drain away easily
Base Construction
- Build a strong, thick concrete base
- Add gaps in the base to stop it from cracking
- Wait a week for the concrete to harden
Wall and Net Installation
- Use strong glass or steel mesh for walls, 3-4 meters tall
- Put up the net at the right height
- Make sure everything is tightly fixed and easy to get to
Surfacing
- Lay down a layer for shock absorption before the turf
- Cut and glue turf pieces carefully
- Paint clear lines for the game
Accessories and Maintenance
- Put in bright LED lights for playing at night
- Install a net and posts that meet the rules
- Keep up with cleaning and checking the court
With good planning, quality materials, and careful setup, you can build a padel court that's fun for years. It's okay to ask for professional help when needed. Putting money into proper construction and care will make sure your court stays in great shape for lots of games.
About the Author
Alfie Godfrey has been working for over 10 years in making sports places like padel and tennis courts all over the UK. He studied how to build things and design them at university, and in 2012, he started his own business focusing on padel and tennis courts.
Since then, Alfie has helped build more than 50 courts for private homes, sports clubs, and even for local governments. He's really good at planning carefully, making sure everything is done well, and paying attention to small details to make sure the courts are just what his clients want.
Some of the padel courts Alfie has made include:
- A private area with 4 padel courts and a clubhouse for someone who builds houses in Ascot
- 6 padel courts that anyone can use in the London Borough of Richmond
- A covered padel area that can be used all year at a club in Surrey
Alfie and his team don't just build new courts; they also fix and improve old ones. This helps places keep their courts in good shape for longer.
With his background in building and designing, Alfie is really good at all parts of making a padel court. He takes care of all the paperwork and works closely with his clients to make courts that fit exactly what they need.
Alfie also keeps up with new trends, materials, and rules in the padel world. He uses the best methods in his work to make sure every court is safe and fun to play on for many years.
Besides building courts, Alfie loves playing padel himself. He plays in local competitions and uses what he learns from playing to make better courts.
If you're thinking about getting a new padel court or fixing up an old one, Alfie Godfrey has the right mix of skills and experience to help.
Related Questions
How do you build a padel court?
Building a padel court involves these main steps:
- Clear the area of any plants or debris, make sure it's flat, and sort out how water will drain away.
- Pour a thick concrete base (about 15-20 cm) to support everything.
- Put up strong fences around the court, at least 3 meters high.
- Lay down the playing surface, which is usually artificial grass.
- Set up lights so you can play when it's dark, aiming for bright enough lighting.
- Paint the lines on the court according to the official rules.
Remember to get any permits you need and consider hiring experts for tricky parts like working with concrete.
How much does it cost to build a padel court in the USA?
In the USA, building a padel court can cost between $24,000 and $65,000 on average. The price can change based on:
- The quality of materials - better quality means higher costs.
- Whether you're sticking to competition standards - official sizes and features can increase the price.
- Where you're building - costs can vary in different places.
A simple court starts at around $20,000, but if you want top-of-the-line features, it could go over $100,000.
How much space do I need for a padel court?
For a standard padel court, you'll need:
- Length - 20 meters (about 66 feet)
- Width - 10 meters (about 33 feet)
- Total area - 200 square meters (about 2,178 square feet)
Make sure there's extra room around the court, at least 2 meters behind and 3 meters on the sides, for safety and to catch balls that go out.